
一、安装mysql5.6
[root@test1 tmp]# wget https://raw.githubusercontent.com/xiangys0134/deploy/master/software_install/mysql/mysql-xunce-5.6.sh && bash mysql-xunce-5.6.sh db
[root@test1 mysql]# mysql -uroot -p         //配置zabbix用户
Enter password:
root@(none) 16:33:54>create database zabbix character set utf8;
root@(none) 16:34:58>grant all privileges on zabbix.* to zabbix_user@'localhost' identified by '123456';
root@(none) 16:35:15>flush privileges;
二、安装Zabbix
[root@test1 tmp]# rpm -Uvh https://repo.zabbix.com/zabbix/4.4/rhel/7/x86_64/zabbix-release-4.4-1.el7.noarch.rpm
[root@test1 tmp]# yum clean all
[root@test1 tmp]# yum -y install zabbix-server-mysql zabbix-web-mysql zabbix-apache-conf zabbix-agent
三、导入SQL
[root@test1 tmp]# zcat /usr/share/doc/zabbix-server-mysql*/create.sql.gz | mysql -uzabbix_user -p zabbix
Enter password:
[root@test1 tmp]# vi /etc/zabbix/zabbix_server.conf
LogFile=/var/log/zabbix/zabbix_server.log
LogFileSize=30
PidFile=/var/run/zabbix/zabbix_server.pid
SocketDir=/var/run/zabbix
Timeout=30
AlertScriptsPath=/usr/lib/zabbix/alertscripts
ExternalScripts=/usr/lib/zabbix/externalscripts
LogSlowQueries=3000
DBHost=localhost
DBUser=zabbix_user
DBName=zabbix
DBPassword=123456
四、配置httpd时区
[root@test1 tmp]# vim /etc/php.ini
date.timezone =Asia/Shanghai
[root@test1 tmp]# systemctl restart httpd
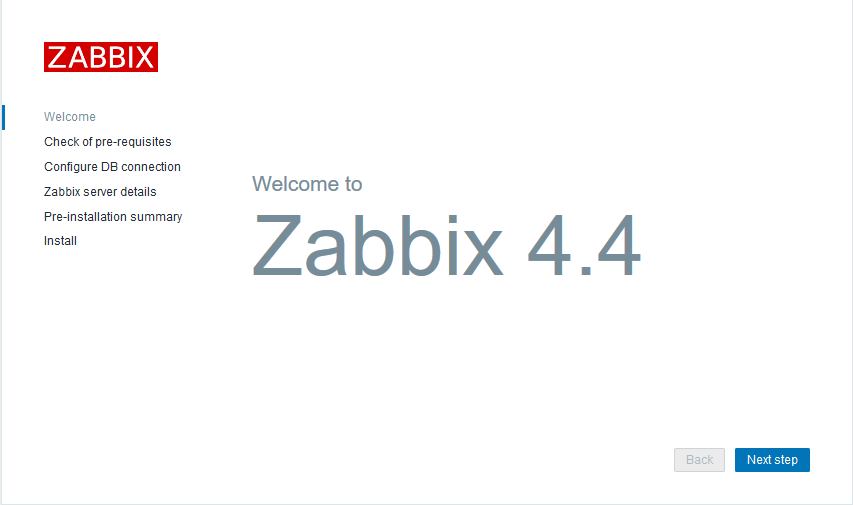
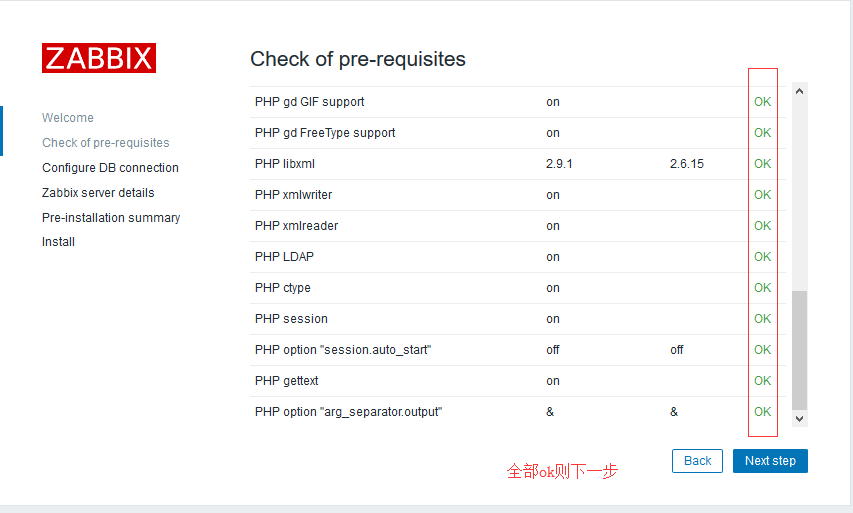
五、安装zabbix-web
- 安装
浏览器登录http://192.168.5.201/zabbix/setup.php

留言